Grow broad beans with me!
Let’s get this out of the way- I know broad beans are not the sexiest thing to grow. If you are keen on a sexy thing to grow, we are growing garlic with the paid subscription. But broad beans are versatile, I will end with some tips on eating them, and they are a valuable cover crop (will improve your soil). So they are an easy, fun thing to start with- give it a go!
Just a note that you won’t automatically receive these emails unless you subscribe specifically to Grow along with Me. I don’t want to spam everyone, so this is the first post, and the next will be sent only to people who opt in. So if you are keen, or on the fence, subscribe to this section of Very Good Gardening, to keep receiving updates.
Subscribed
What you need
Broad bean seeds or seedlings- pick the type that you like the look of, they all grow well in Wellington.
A big pot (bucket-sized- a bucket with holes in the bottom is great), or patch of garden that gets either good morning or good afternoon sun (or both!)
If using a pot, you need potting mix that has pumice in it- it’s better for aeration. I use specifically organic or Osmocote.
Some soil additives- about 1/3 of the dirt you are planting in will be additives. So if you are using a bucket sized pot, you will fill 1/3 of that pot with additives. If you are planting in the ground, you will need more like a bucket full of additives. Try
Compost from your compost bin
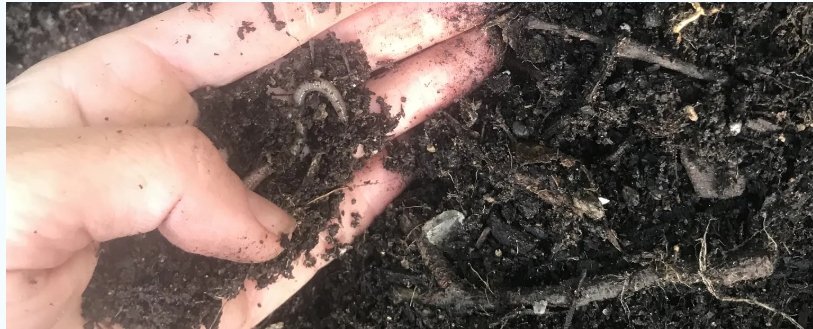
Worm castings from your worm bin
Chicken and/or sheep pellets
Digging in half broken down mulch
Leaf mould (broken down leaf litter)
Chicken poo and bedding
Coffee grinds, loose leaf tea (tea bags tend to have plastic in them unfortunately)
Read the packet

You have me to show you stuff, but always read the packet anyway.
Sort your soil
I am growing 6 plants, and half are in pots. So I need about a metre of my garden bed to be dug into a wee trench, and one pot.
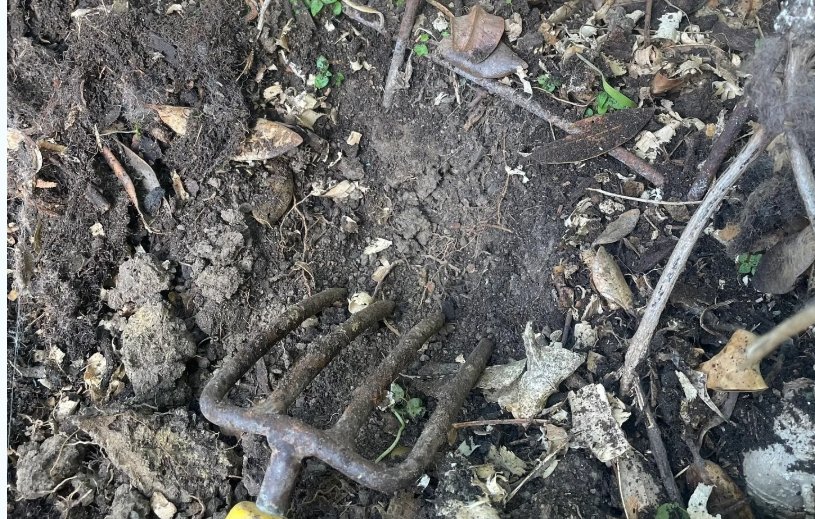
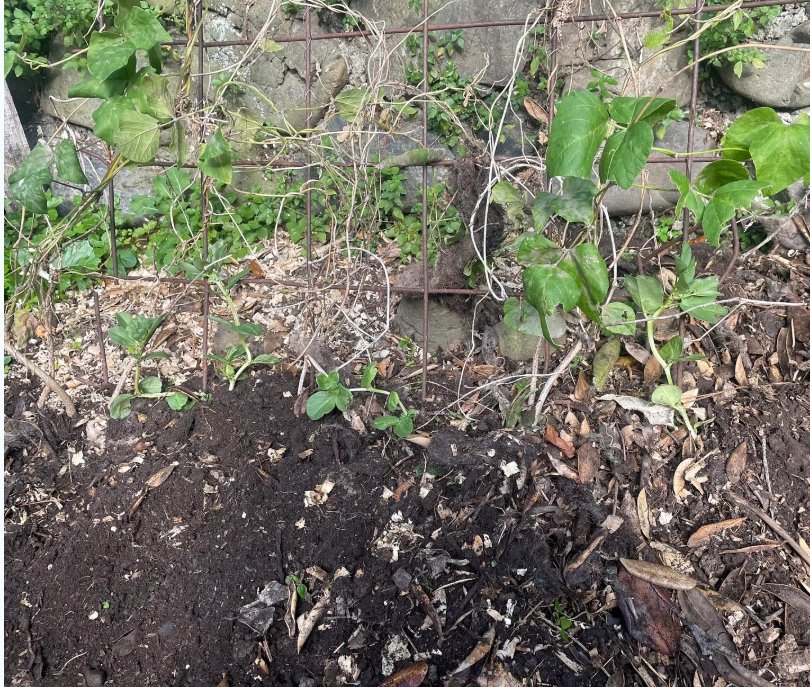
I am using particularly bad, crappy soil between my scarlet runner beans. It is dry despite the rain, and has very little nutrients, so I am scraping as much dirt out between the runners as possible, going down about 20cm, and filling it with good compost- then I am putting the dirt back on top.
If you are growing in a garden bed, dig as much into the soil as you can- aim for at least 30% of the top 30cm to be fresh nutrients. Just basically dig a trench the spade’s length down, dump your additives, and put the soil back over the top.
If you have sheep or chicken pellets, or a premade soil additive from a shop, for broad beans you can use the amount recommended on the pack.
Planting seedlings
After adding the soil, I have redug little holes and popped my broad beans in. I have made sure that the roots are all properly buried and that the green starts where the soil starts. I also jammed a handful of seeds in just to see what happens!
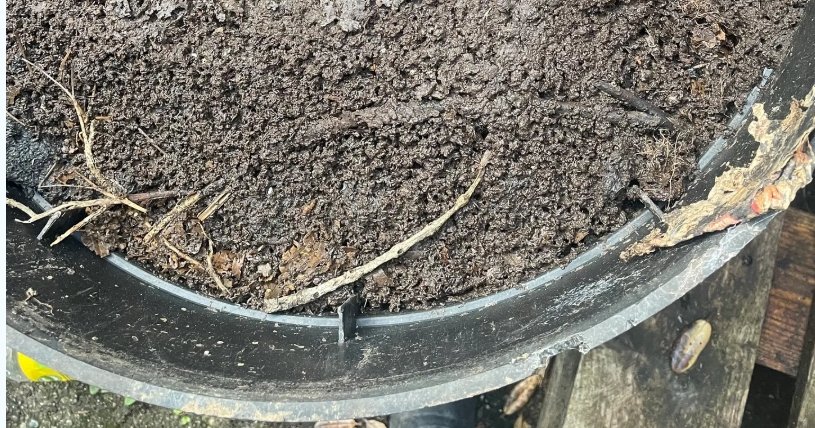
In my pots, I am putting a small layer of potting mix at the bottom, then adding my soil additives up until about the top 10cm, then topping it off with more potting mix. This means that the beans don’t start in super rich compost- they start in a mix which has better structure. Over time the compost and potting mix will slowly blend together anyway. If you are using “vege mix” from a shop, you can just fill your pot with vege mix and not worry about adding anything else.
Some yummy compost for the pot
Some super goopy vermicast (worm castings)
I’ve put a mix of vermicast and compost into my pot up to about 10cm from the top. I just put it in layers and didn’t bother mixing it because I’m lazy. It doesn’t matter much.
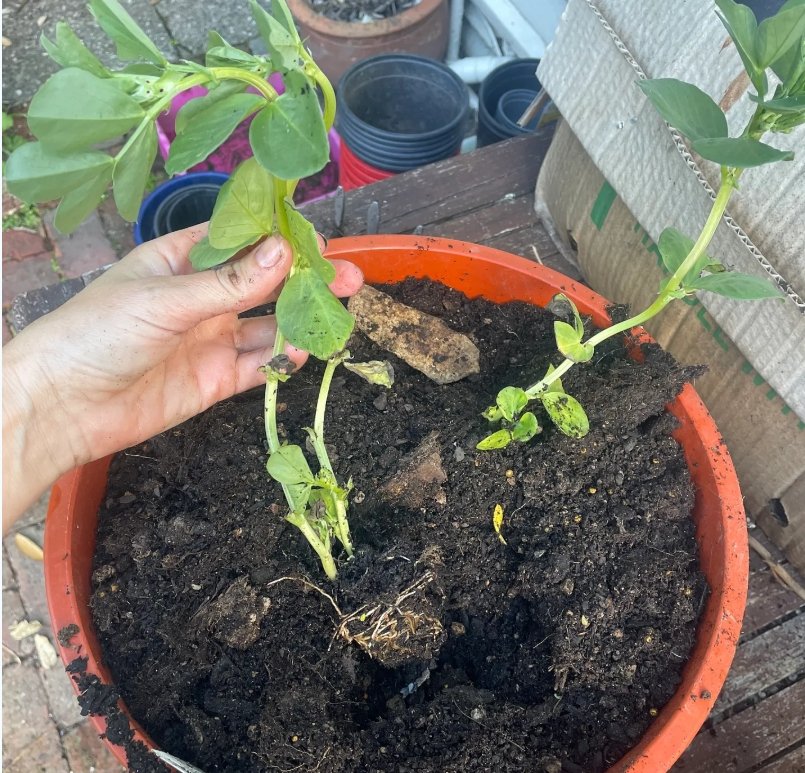
Once everything is in the pot, I put my seedlings in so that their root level matches the root level of the pot. It’s important to gently push their soil down around the stem, so that the roots make good contact below the soil. Your pot will probably push down quite far so don’t be afraid to fill your pot to the very top with potting mix before adding your plants.
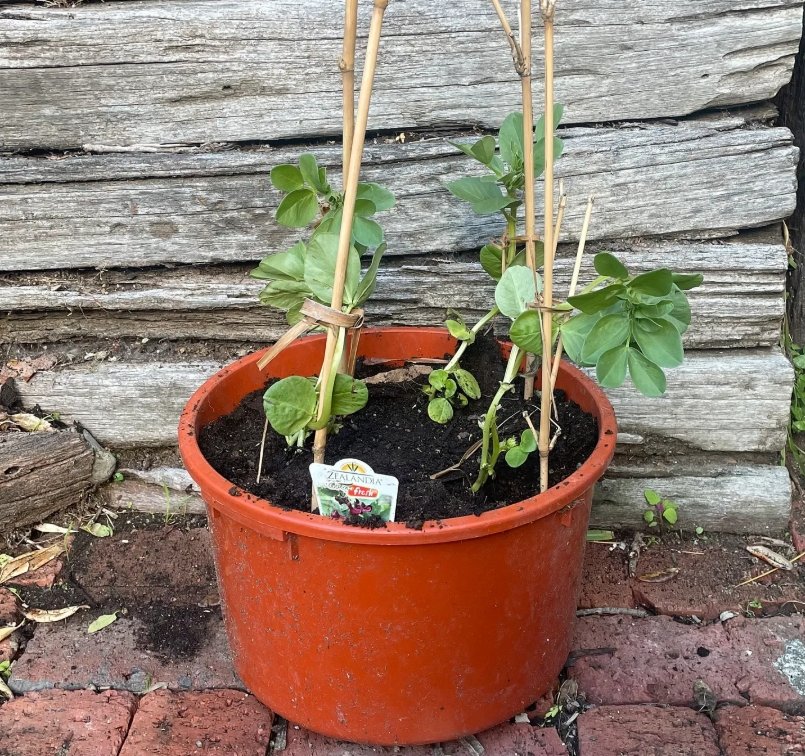
If you are using seedlings, put in your stakes now and gentle tie the beans each to a stake. I use the ends of old bamboo and cabbage leaves for this. I find that leaving a mess of bamboo up top helps to support the beans when they are taller.
Planting Seeds
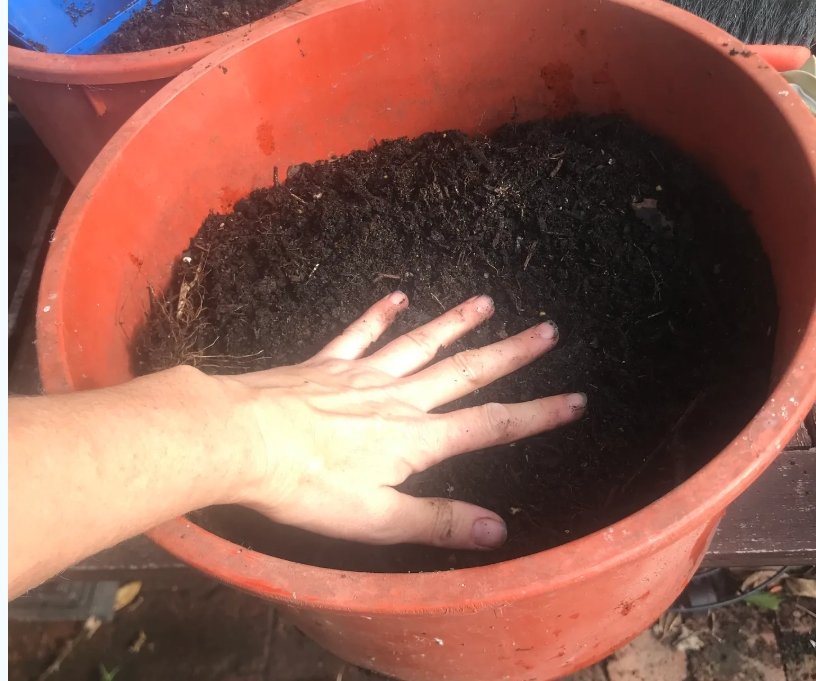
Push your seeds down to the second knuckle in your hand. Don’t worry tooo much about which way they are pointing- their ideal is to be horizontal, so sitting at their widest- but they’ll work it out. Gently pat down the soil around them so that it’s firm.

I have planted some into plant pots in the soil, just because it’s easier for me to show you what’s going on later- you can just ignore that!
Now, for a bucket- sized pot, you are planting four seeds. Just four, and the fourth is only in case one of them is damaged or doesn’t grow right. You only want four.
If you are planting in the ground, you are planting them 2 knuckles deep, 25cm apart, so go crazy. If you are planting in the ground, can I suggest that you pop some stakes in now, beside where you put the seeds? So you don’t lose them!
Watering- a make or break step
Seedlings- water them deeply. Make the ground a muddly slushy pool. If using pots, water extremely slowly until the water is running out the bottom, then water again. Try not to get the leaves wet.
Seeds- This one time, water them the same as the seedlings. You shouldn’t get seeds so wet, but you have created a whole new batch of soil and the soil needs the moisture to sort itself out.
Find a spot for your pot
If you’re using pots, pop them somewhere that they will get a fair amount of sun- they don’t need heaps, but they do need some. Morning sun is best in my experience, because it dries out the leaves and slows rust. Full sun is even better.
Go make a cuppa
You’ve done it! Step one is done. You have a couple of weeks to do this, so if you don’t have everything sorted out today, that’s totally fine!
We will check on the plants next week. Whew, what a long post! They won’t be anywhere near this long, usually.
If you are keen to have a go at growing broad beans, remember to subscribe! If you are keen to have a go at growing garlic, you’ll need to become a paid subscriber. The link to the first garlic post is here, if you go through the motions over there it will help you to set up a subscription.
Have a great week!